The photo above is a Twiggy Mk1 from France

This presentation documents the construction of a modified version of Lock Crowther's famous Twiggy Mk 2 trimaran

Monday, December 31, 2012

Float in storage

4 of us carry the float out of the shop
 - float weighs 319 lbs
removing the carrying ropes and bars

 float stored away until beams are made and fitted, and mounting holes drilled
- all this before the deck can go on
float stored under blue tarp beside our present smaller trimaran

Sunday, December 2, 2012

Topside ready for plywood deck

 glass overlaps at stem have been sanded fair and appear white
 nice curves!

 deck beams at aluminum plates have been epoxied in place
deck beam notches are done
gunnels have been planed fair ready for plywood


Thursday, November 22, 2012

Deck prep work starts

 float is upright for deck prep work

side view of glassed hull before deck work

Friday, November 16, 2012

Epoxy coating the float interior

turning the hull on it's side made it easier to reach inside to brush on 3 coats of epoxy

this way gravity helped the epoxy to flow out smooth

Sunday, November 4, 2012

Fiberglassing

 glass cloth positioned dry


- cloth overlaps the keel 2" from both sides
- two strips of cloth, 2" and then 3" wide, were previously epoxied over the keel
- this gives 4 layers over the keel for toughness
epoxy was applied by 10" window style squeegee 
small stapled wood scraps holding the cloth will be removed after wetout

Sunday, July 8, 2012

Keel protection

 1/8" oak laminations on stem for toughness
soild oak strips at stern for toughness

Saturday, July 7, 2012

Okoume plywood

Okoume plywood for the cabin and beams arrives
3/8" okoume plywood with 7 layers
BS 1088 stamp

Wednesday, April 11, 2012

3rd layer of veneer done

narrower 1.5" wide veneer strips were used around the curve of the bilge
3rd layer of cedar veneer filled and sanded fair, ready for glass cloth

Tuesday, April 10, 2012

Wednesday, March 7, 2012

2nd layer done

 the surface will be sanded fair before the next layer goes on

staples and straps have been removed

Tuesday, February 21, 2012

2nd layer of veneer started


 wedges driven under the straps align "wild" edges
 wax paper facilitates removal after cure
plenty of wedges

Thursday, February 16, 2012

1st layer of cedar veneer done

 Cedar veneers glued edge to edge
 1st layer of 1/8" cedar veneer done and sanded

pencil lines show stringer locations for accurate stapling of the next layer

Tuesday, February 14, 2012

1st layer of cedar veneer started

 veneers glued edge to edge and to the stringers/gunnels/keel
veneers held with straps and staples

Friday, February 3, 2012

Stringers faired and ready

 stringers faired in at bow

 and at stern

tapered stringer's free ends held fair with fishing line

drainage channels along bilge stringers

Friday, January 27, 2012

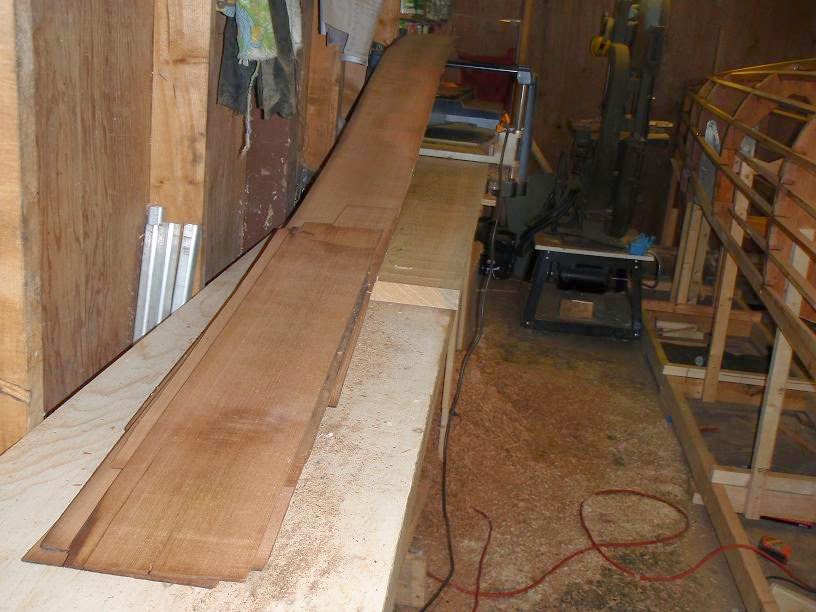
Making cedar veneer - lots of it!

Planing 1/8" red cedar veneers 
each hull gets 3 layers
approx 1200 sq ft needed for floats and mainhull